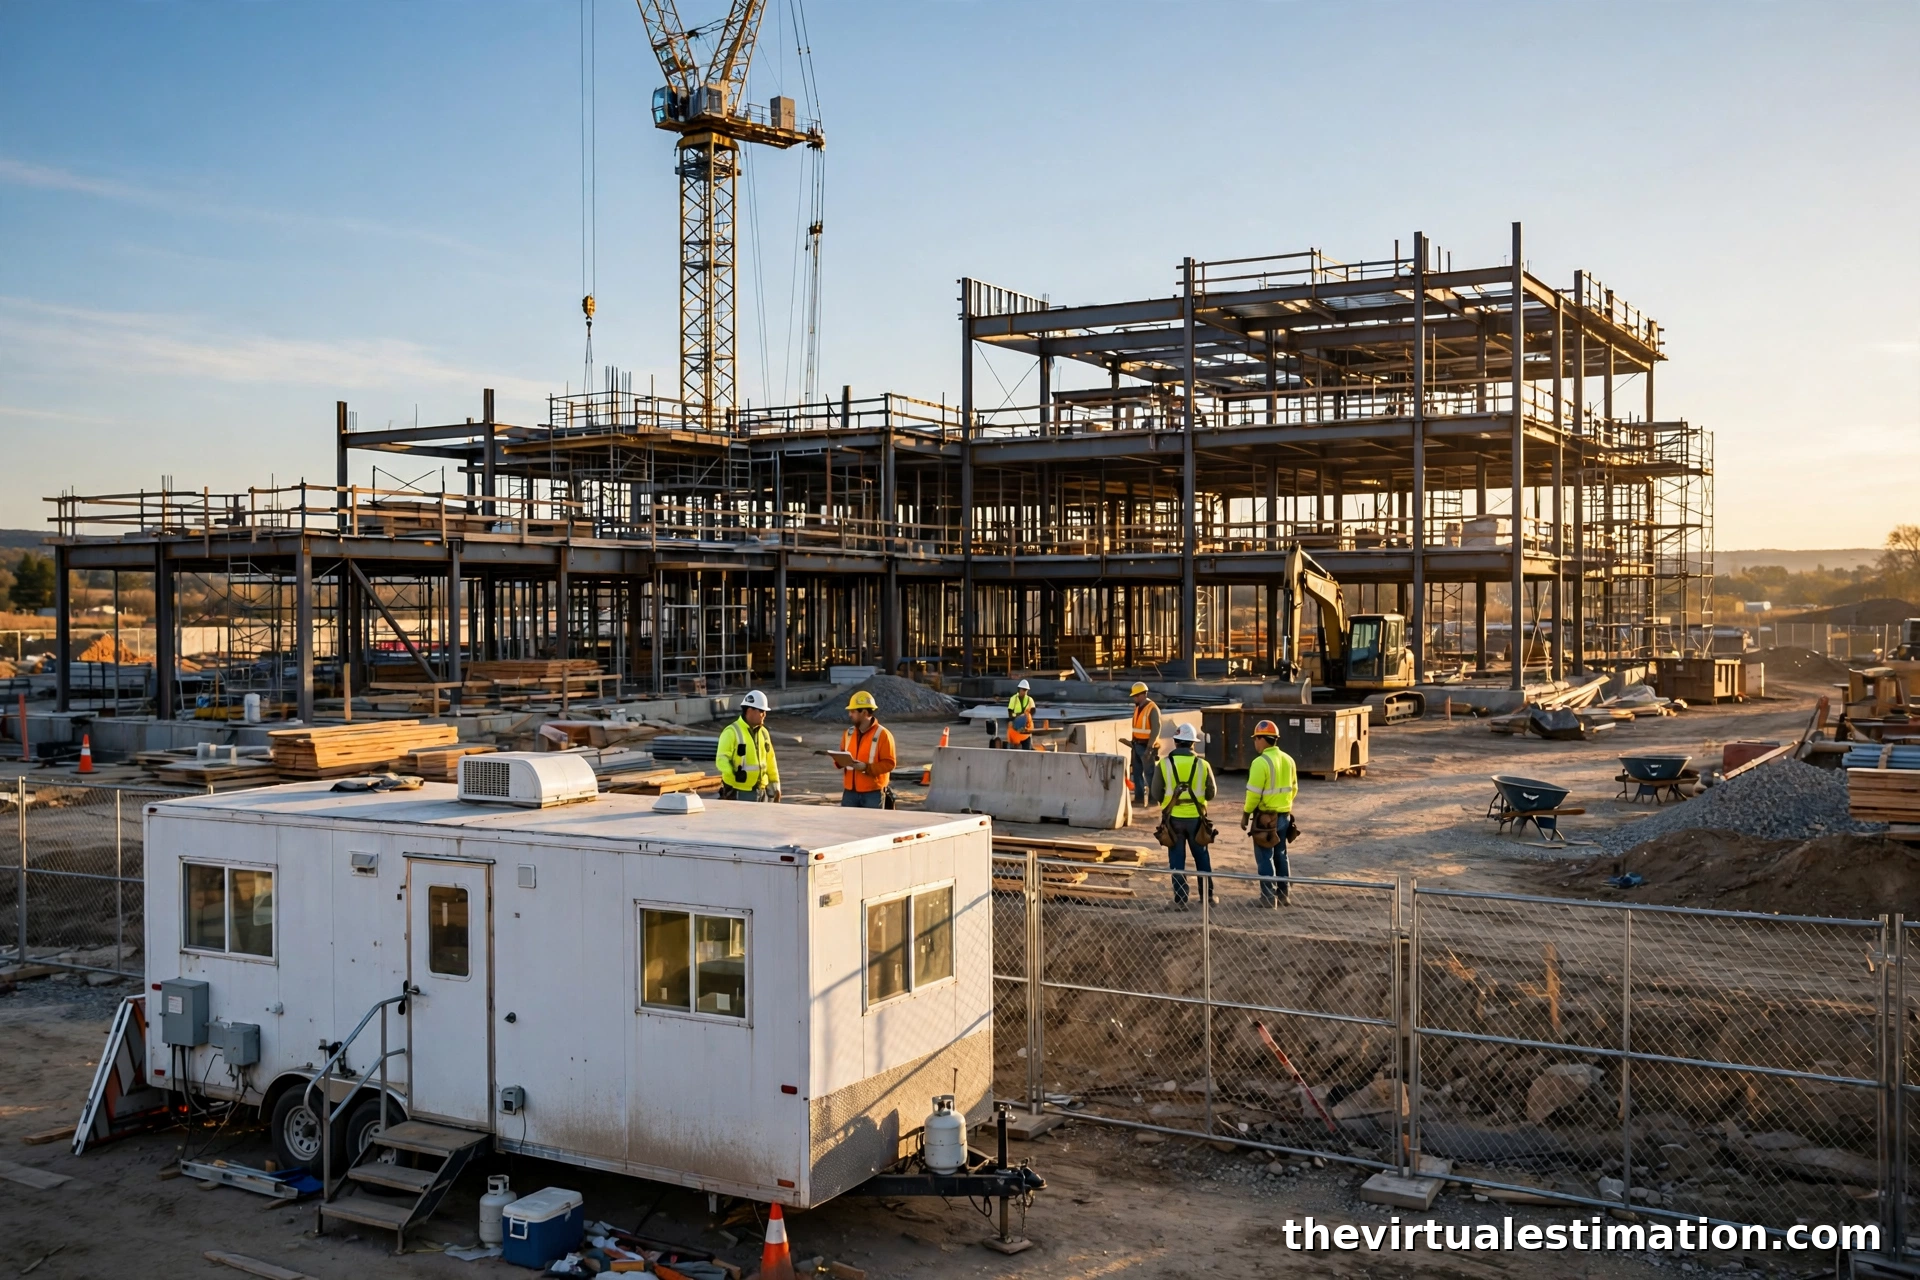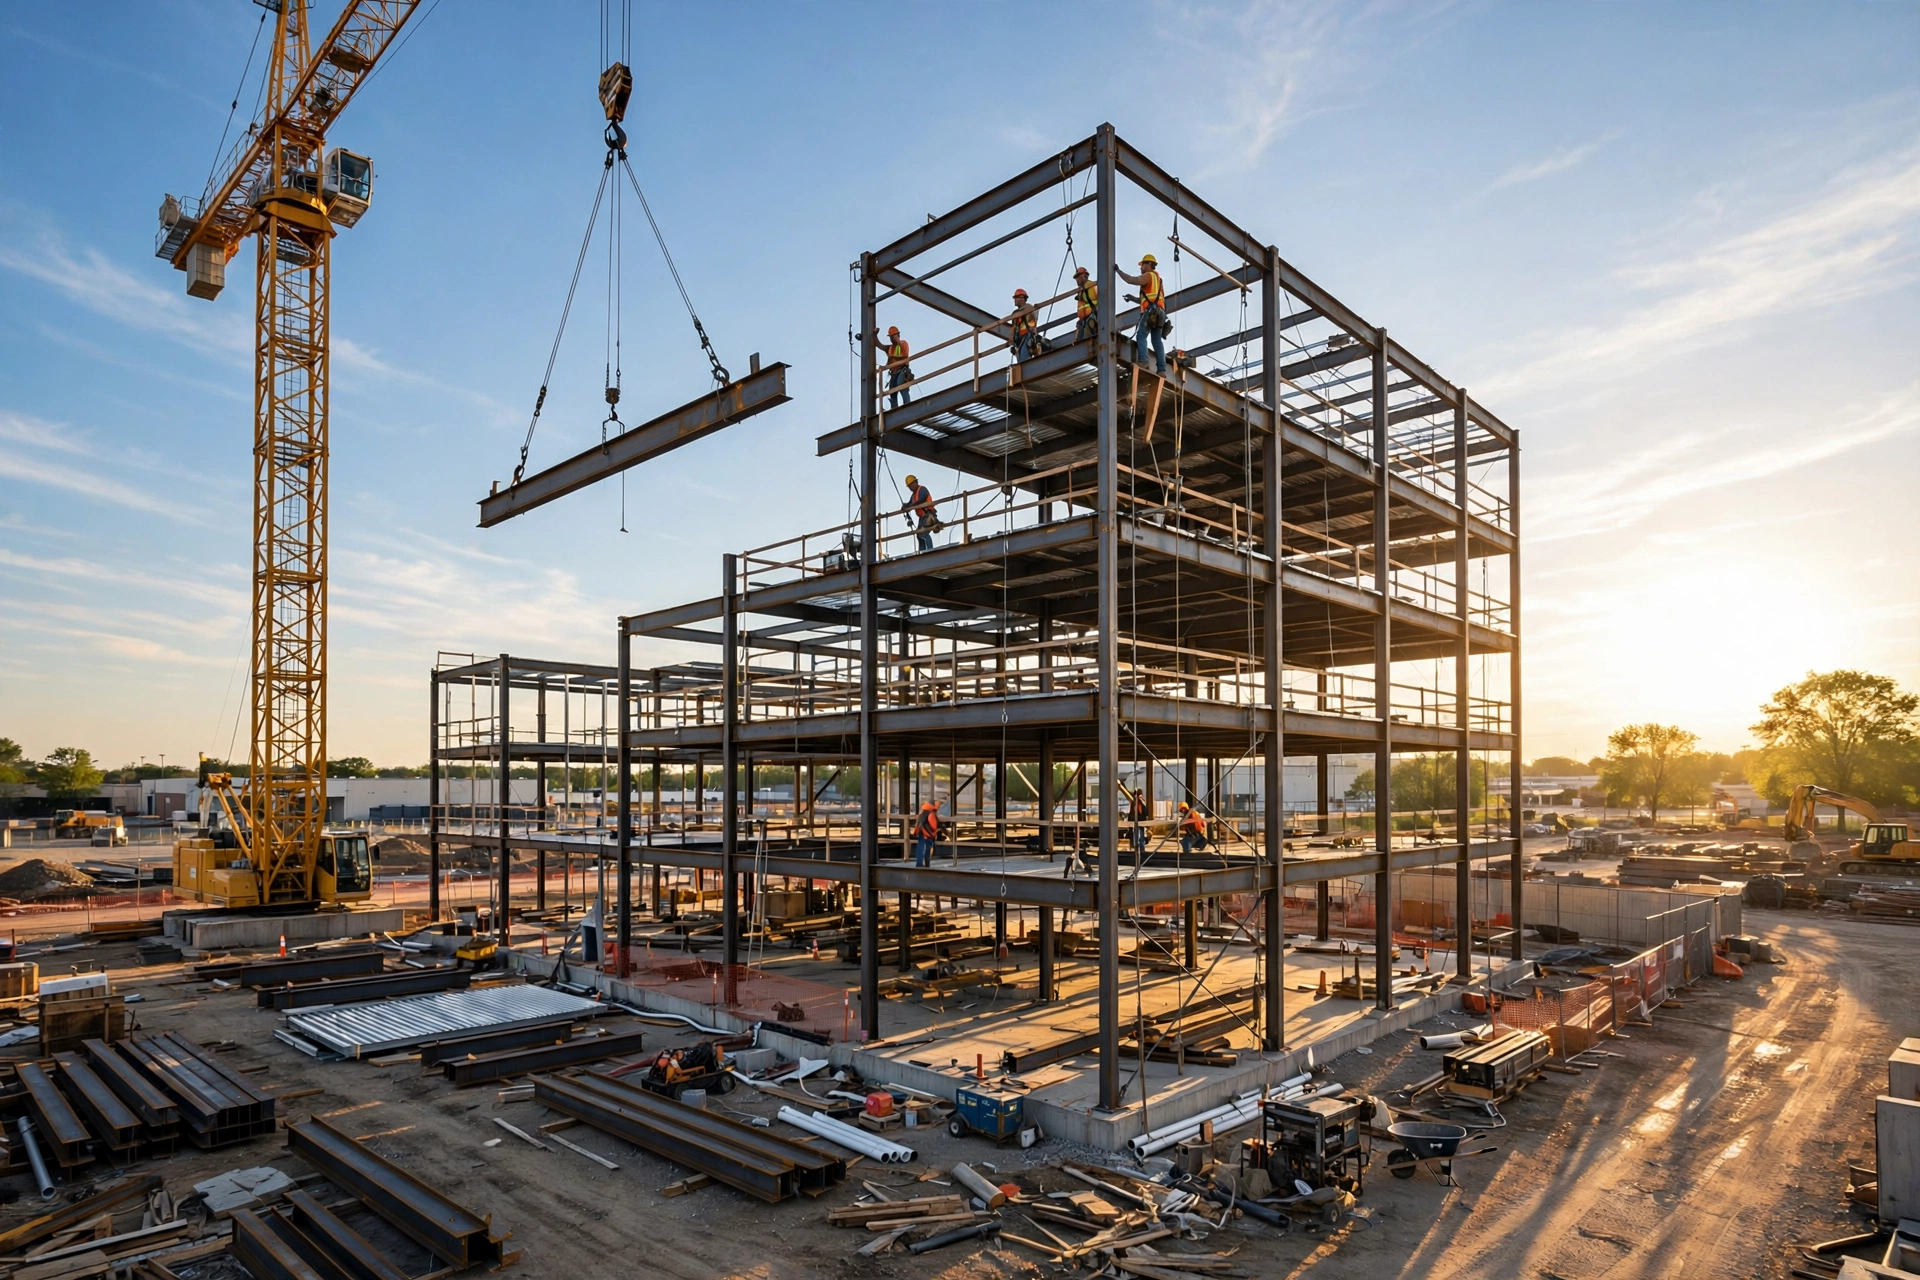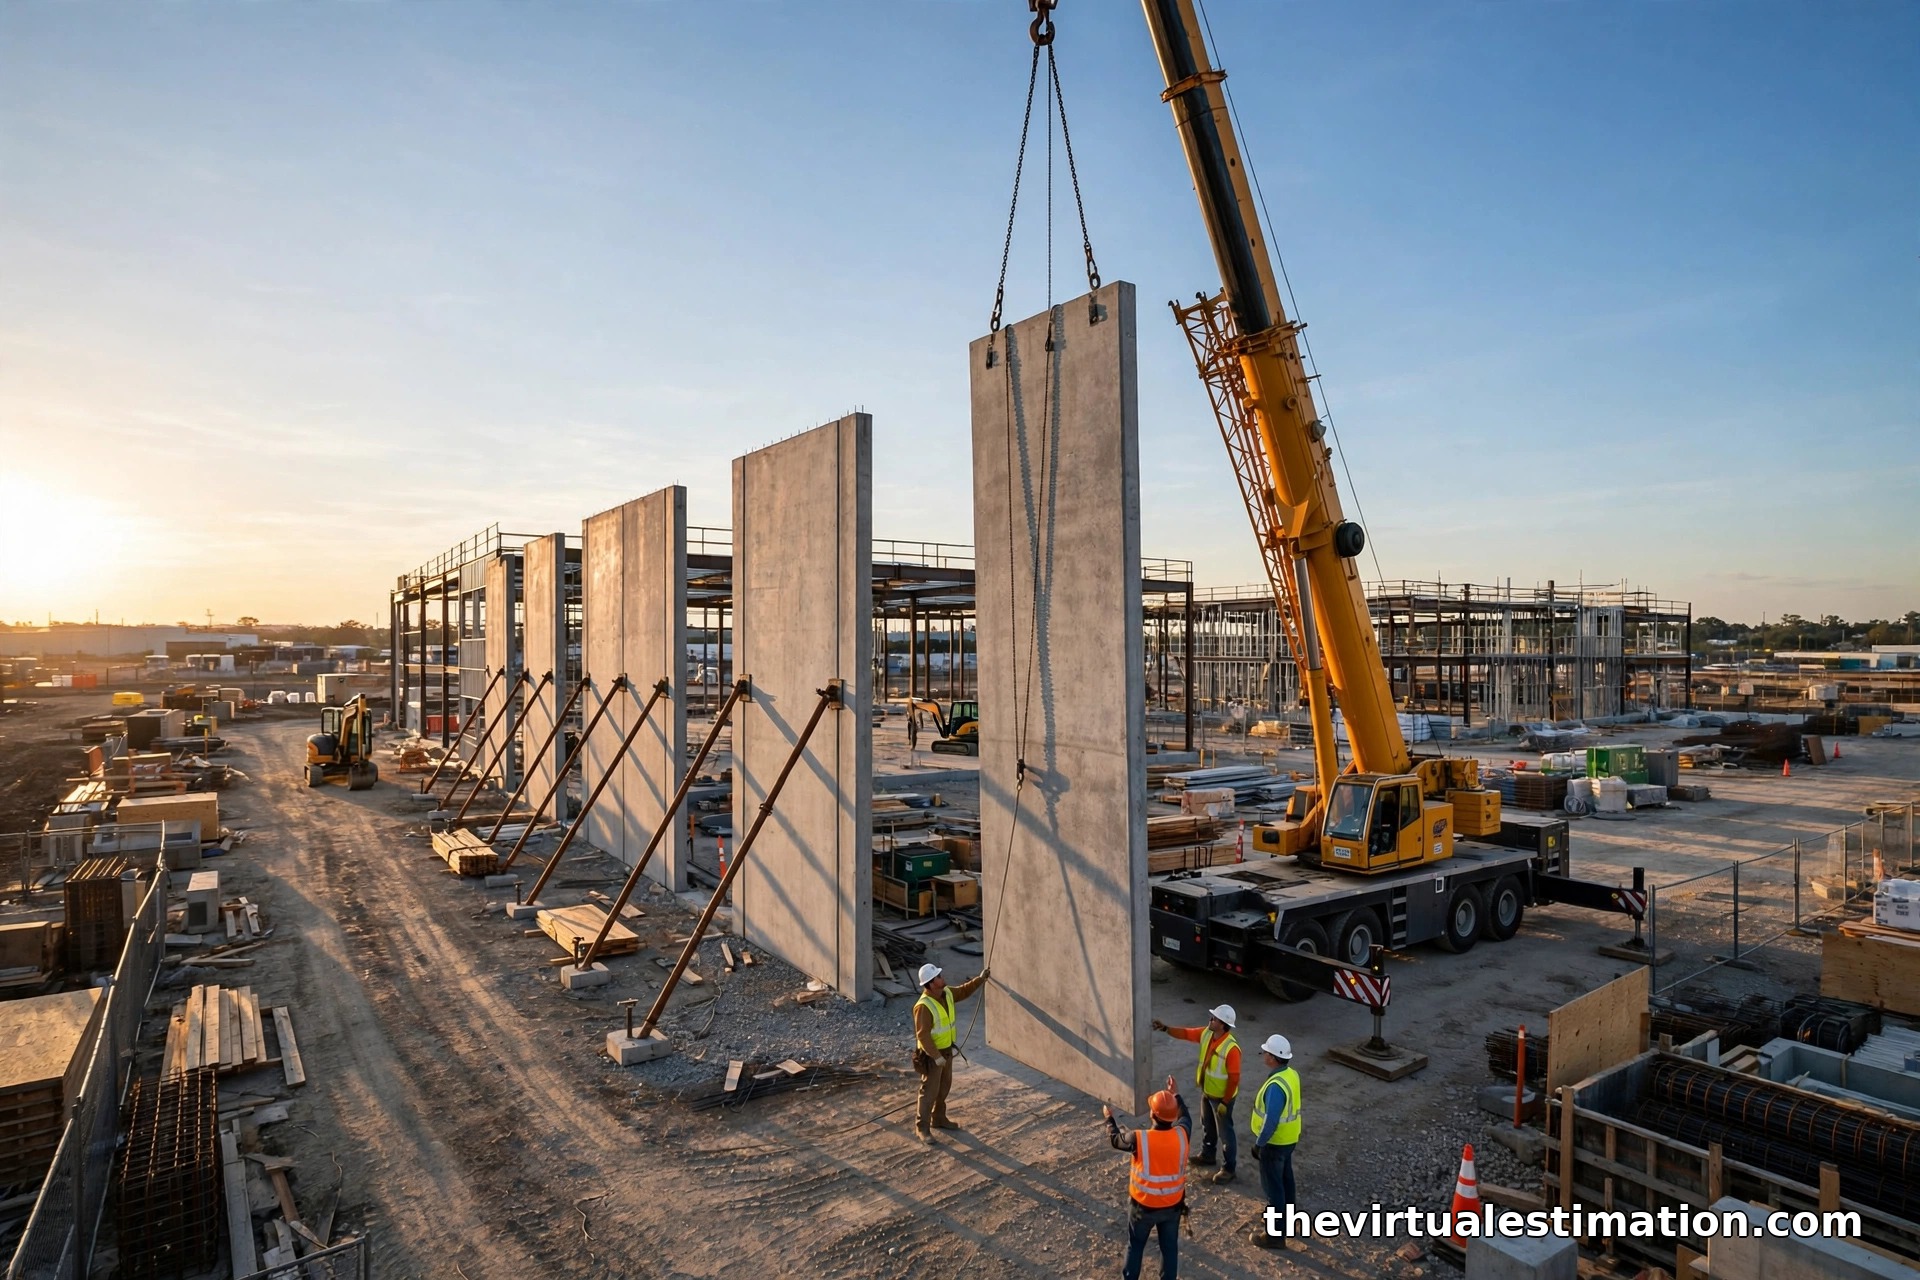
If you bid industrial work in Texas, Arizona, Florida, or Southern California, you will run into tilt-up concrete sooner or later. The panels get cast flat on the building's own floor slab, cure for about a week, then get picked by a crane and braced upright while the roof steel goes in. It is the default wall system for big-box warehouses and distribution centers, and it is also one of the easiest scopes to underprice if you treat it like ordinary cast-in-place walls.
This guide walks through how an estimator actually takes off a tilt-up job: reading the panel schedule, converting panels into concrete yards and rebar tons, sizing the crane and bracing line items, and building the sequence into your bid. It follows the same quantity-first method our concrete estimating team uses on live industrial bids.
Where the Cost Lives in a Tilt-Up Job
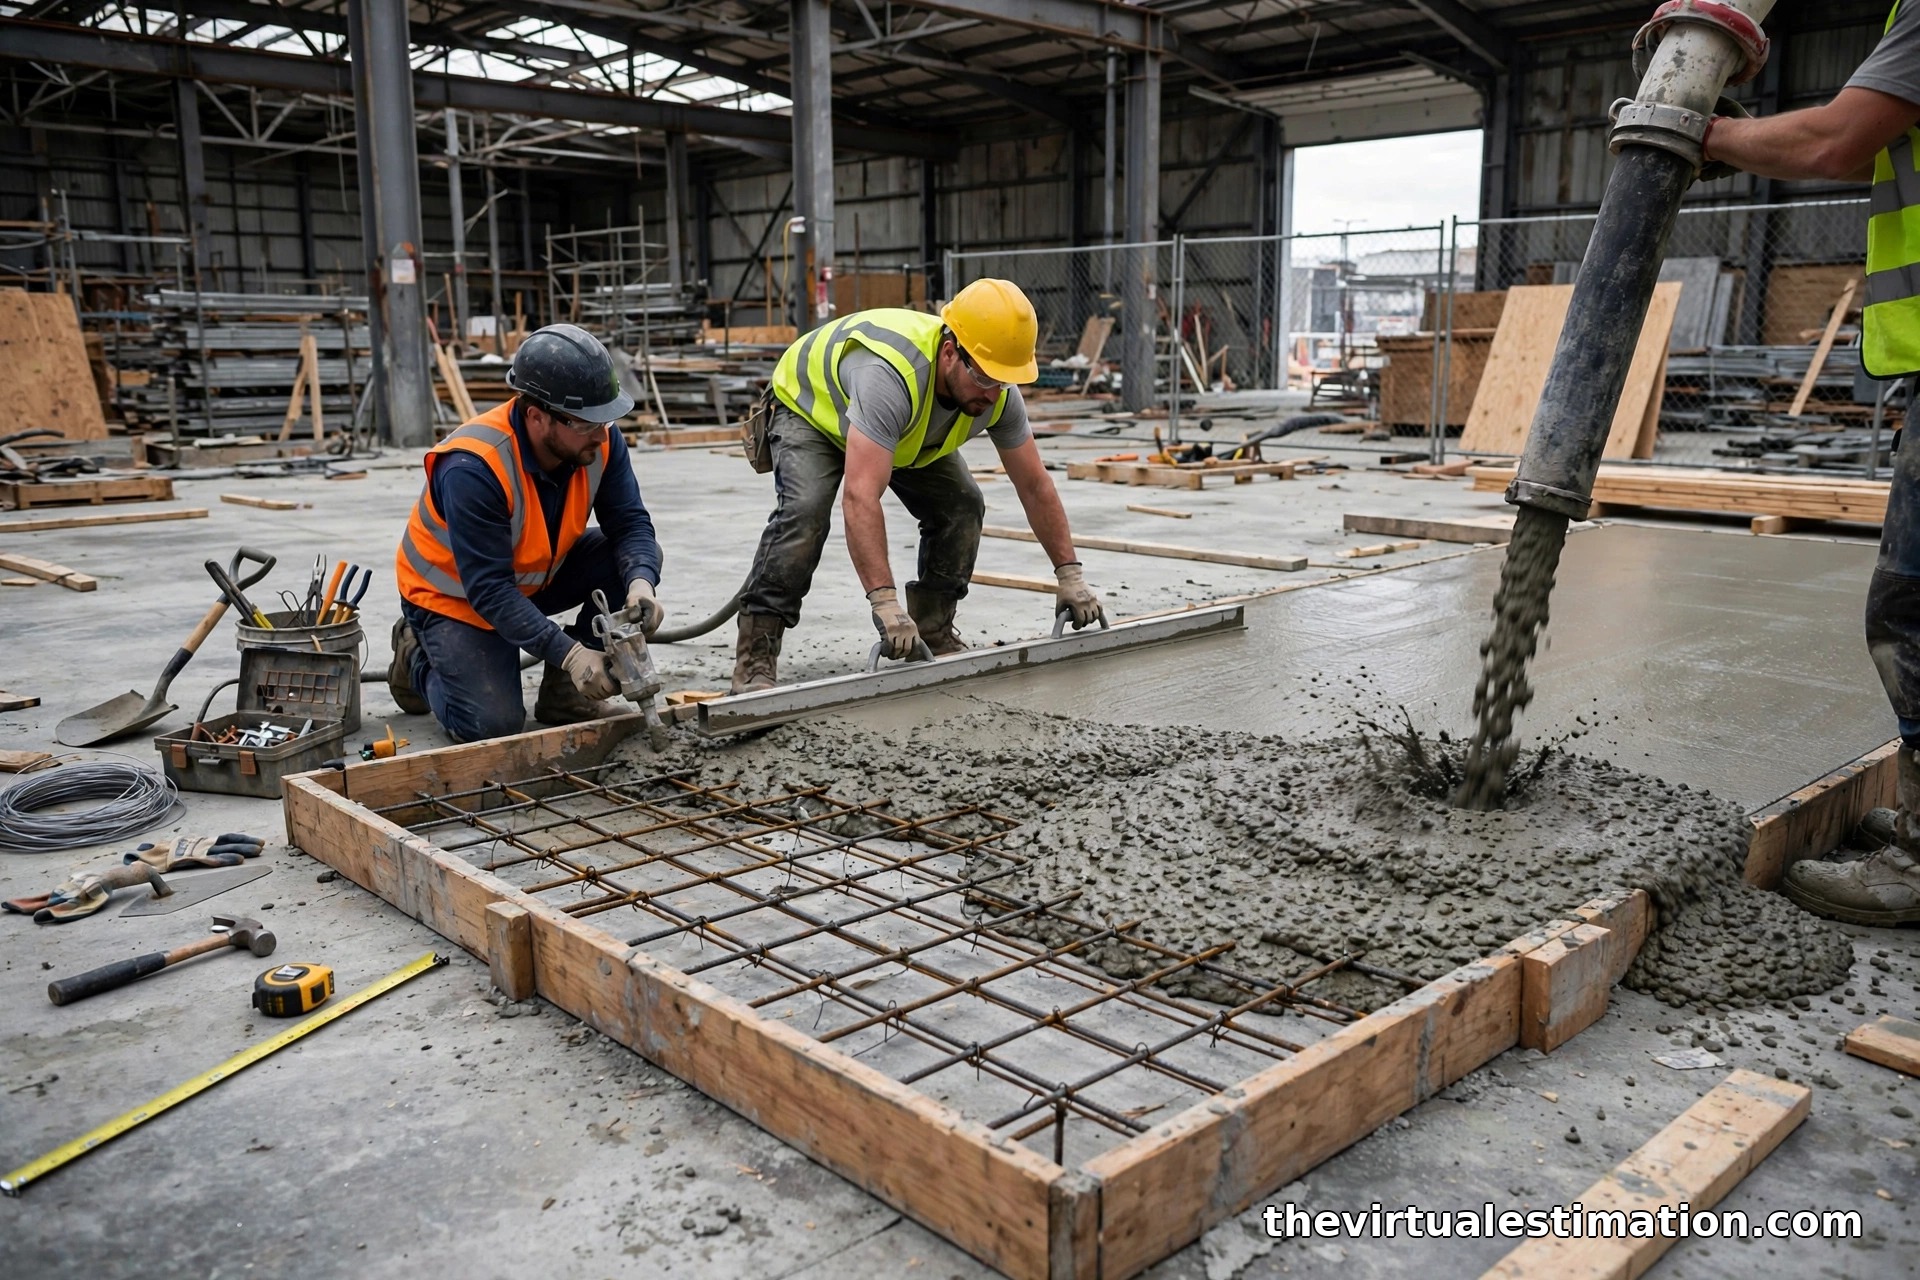
A tilt-up estimate is really six smaller estimates wearing a trench coat. Miss any one of them and the job bleeds. Here is how the cost typically breaks down on a warehouse shell:
| Cost bucket | What it includes | Share of panel scope |
|---|---|---|
| Concrete | Panel concrete, usually 4,000 to 5,000 psi, plus waste and pump | Largest material line |
| Reinforcing steel | One or two curtains of rebar, trim steel at every opening, lifting inserts | Second largest material line |
| Formwork and casting beds | Edge forms, blockouts for doors and windows, bond breaker, reveals | Mostly labor |
| Crane and rigging | Crane rental by the day or week, rigging crew, spreader bars, shackles | Schedule-driven |
| Bracing | Pipe braces rented by the month, installed at two per panel typical | Often underestimated |
| Finish and closeout | Panel joint caulking, patching, painting, panel layout engineering | Death by a thousand cuts |
The published 2026 cost guides put a complete tilt-up warehouse shell at roughly $85 to $120 per square foot of building area, with Texas tilt-wall shells for 100,000+ square foot buildings landing between $65 and $110 per square foot. Those are shell numbers, not panel-only numbers. Your job as the estimator is to build up from quantities, then check your total against those ranges. If your number lands far outside, something in the takeoff is wrong.
Reading the Panel Schedule and Elevations
Start with the structural drawings, not the architectural floor plan. The panel schedule (sometimes called the panel layout or tilt-up plan) is your Rosetta Stone. It shows every panel numbered, dimensioned, and located. Elevations give you heights, parapet conditions, and every opening: dock doors, man doors, windows, louvers, and dock leveler pits.
Pull these quantities first, in this order:
- Gross wall area per elevation. Length times height for each wall run. Keep north, south, east, and west separate so you can check against the panel schedule later.
- Panel count and sizes. Count every panel from the schedule. Record width and height of each; panels on one job can range from narrow 10-foot filler panels to 40-foot-plus wide panels.
- Openings schedule. Every dock door, personnel door, window, and louver gets measured and deducted from concrete, then added back as its own scope (doors, frames, hardware, glazing).
- Panel thickness. Usually noted in the wall sections. Most warehouse panels fall between 6 and 12 inches; taller panels and heavier loads push thicker.
- Rebar curtains and spacing. One curtain or two, bar size and spacing each way. Openings need trim steel, which the schedule sometimes shows and sometimes leaves to the detailer.
- Embeds and inserts. Lifting inserts, brace inserts, weld plates for the roof steel connection, and embeds for canopies or dock equipment. Count them per panel.
A common rookie mistake is taking off the walls as one big rectangle. Tilt-up pricing lives at the panel level: each panel is a separate cast, a separate crane pick, and a separate pair of braces. Take off panels, not walls.
Step-by-Step Panel Takeoff Method
Once the drawings are read, the math is straightforward. Work it the same way every time so nothing hides:
Step 1: Net panel area. Gross wall area minus all openings. This drives concrete volume.
Step 2: Concrete volume. Net panel area times thickness, divided by 27 for cubic yards. Add 5 percent waste for form leakage and overpour at thickened sections. Panels are cast on the slab, so also confirm the slab is designed as a casting bed (it affects your slab takeoff and schedule).
Step 3: Rebar weight. Compute pounds per square foot from the bar size and spacing, times the number of curtains, times net panel area. Then add trim steel around every opening (a good rule is to add 10 to 15 percent on top of the curtain steel for a panel with heavy door openings). Convert to tons.
Step 4: Edge formwork. Linear feet of panel perimeter forms. Every opening adds interior formwork too, so the opening schedule feeds this line directly.
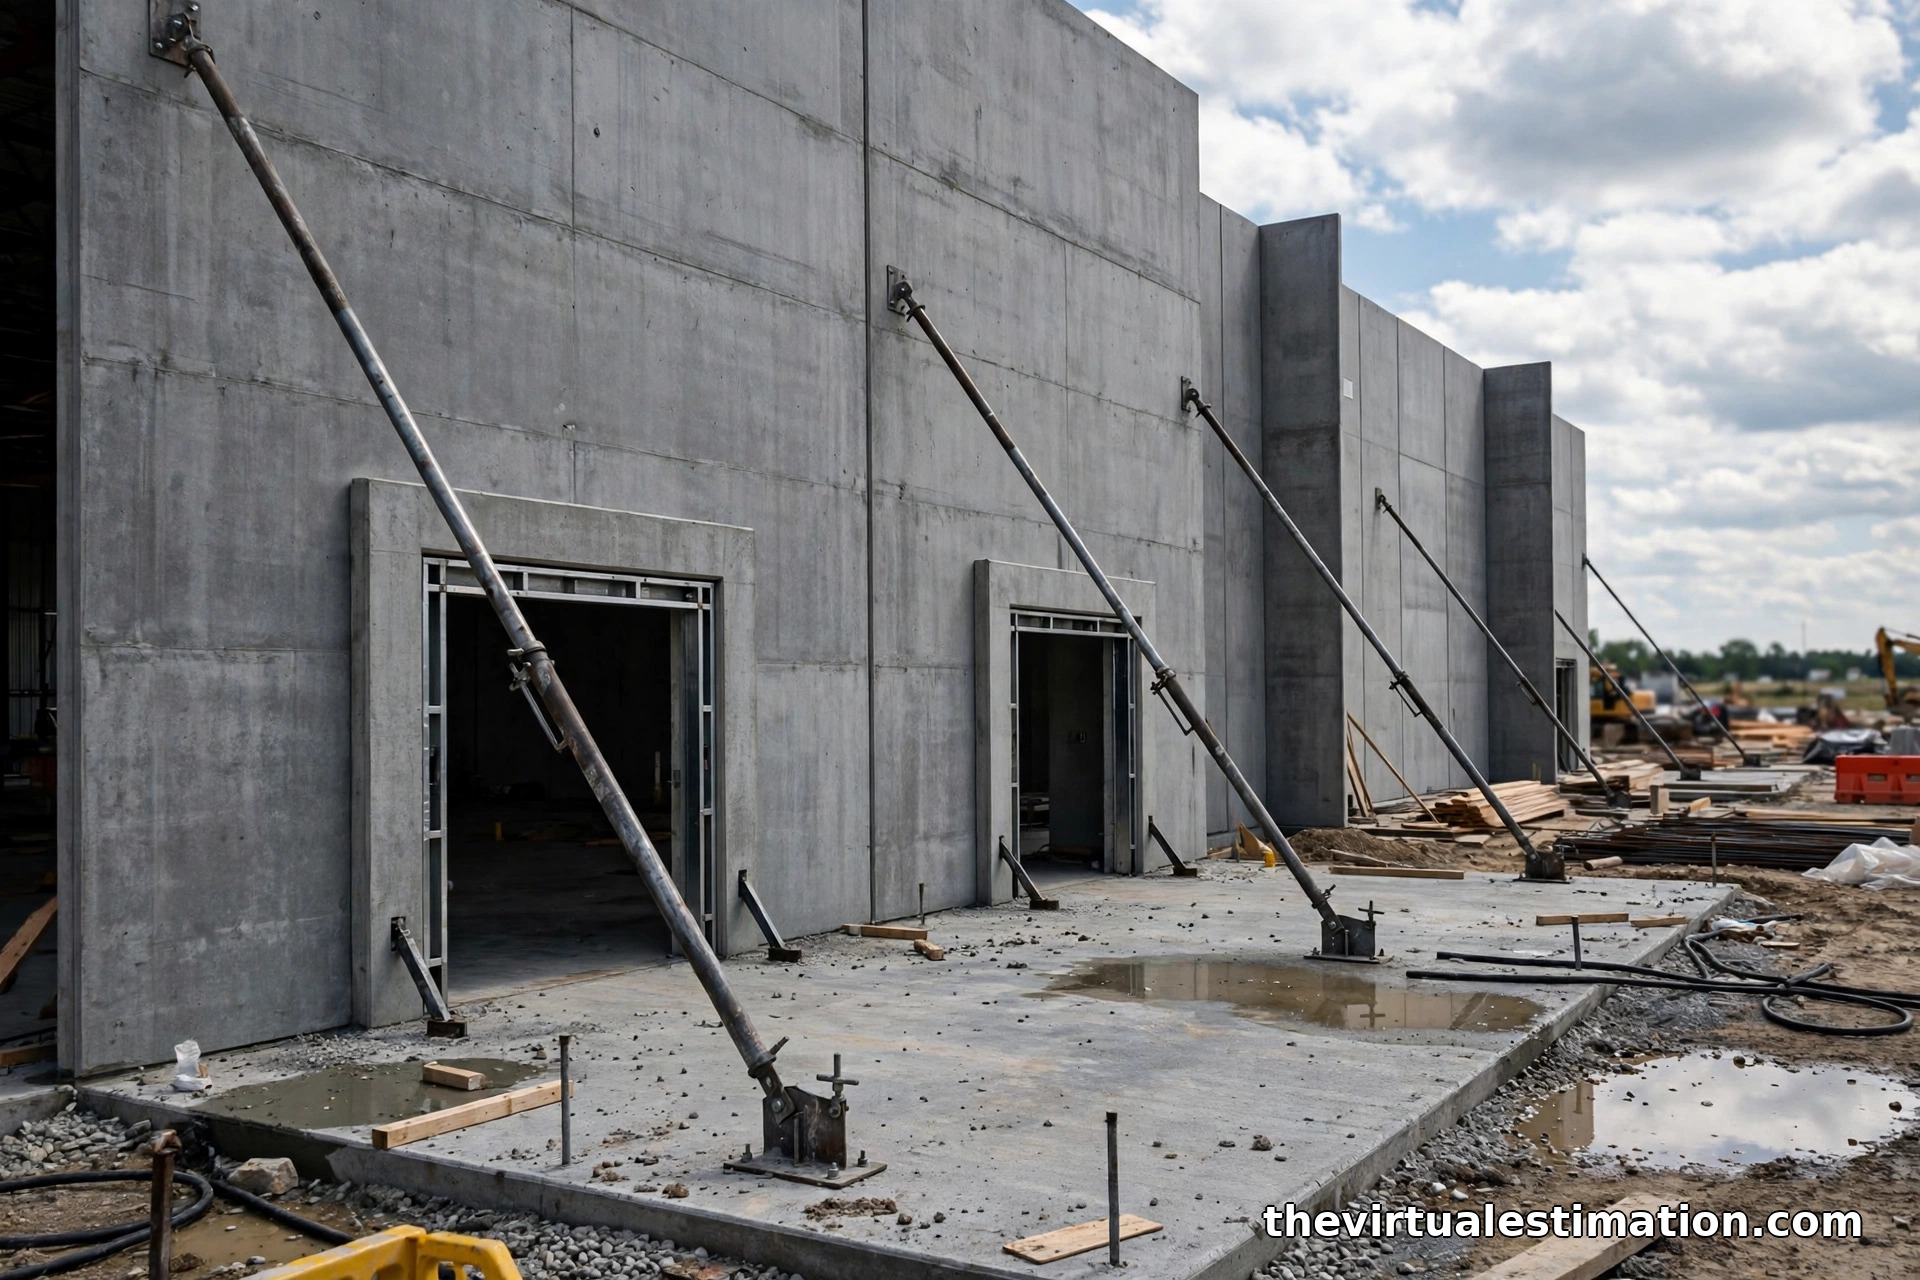
Step 5: Braces. Two per panel is the standard count, attached at about two-thirds of the panel height. Braces are rented by the month and stay in place until the roof diaphragm is complete, so brace rental duration comes from your schedule, not just your quantity.
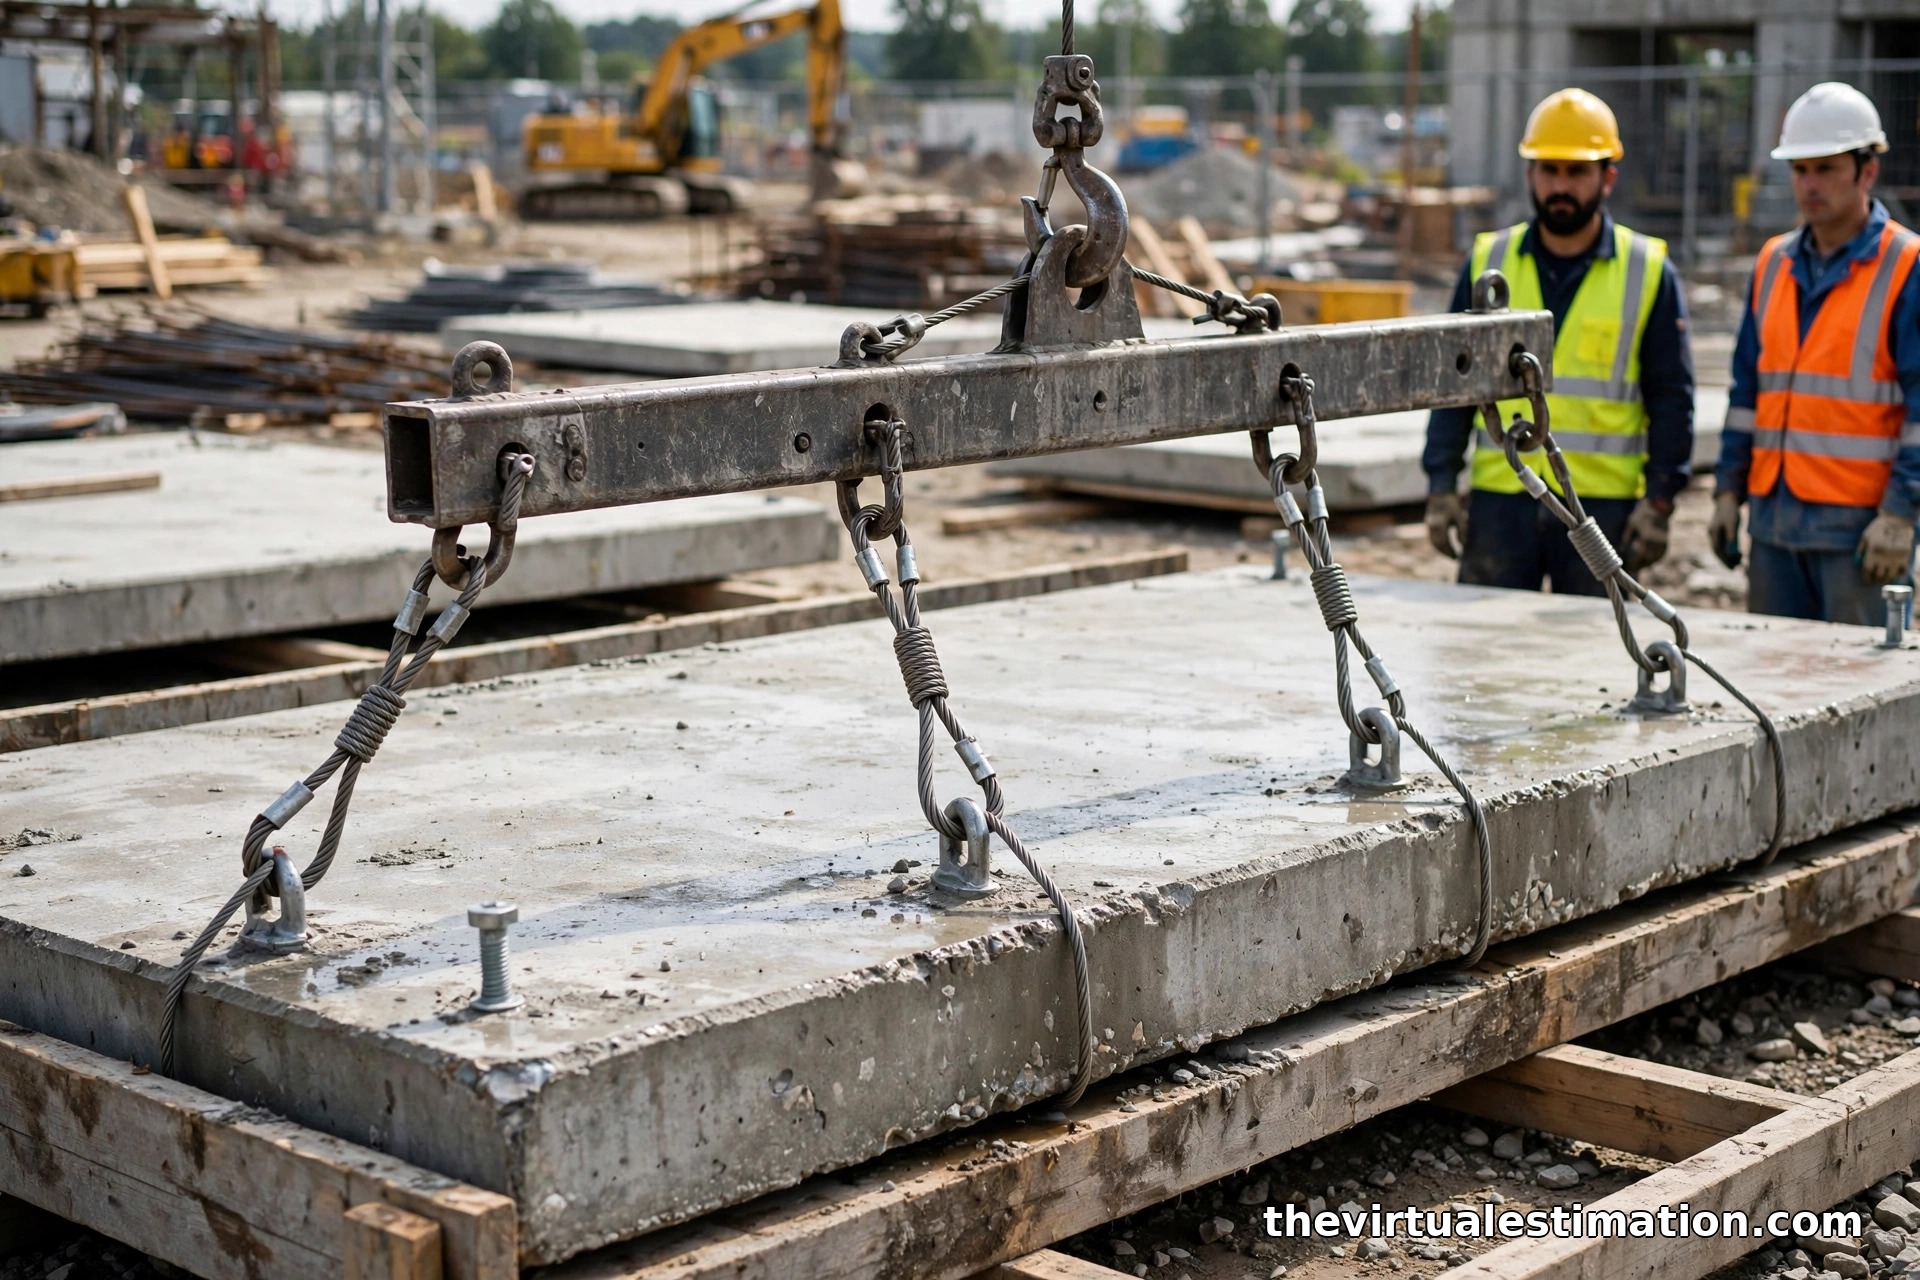
Step 6: Crane picks. One pick per panel, plus picks for any stacked or unusual panels. Size the crane at twice the weight of the heaviest panel. A 140-ton truck-mounted crane is the workhorse of tilt-up erection; on many distribution jobs a 100-ton class crane covers the panel weights.
Worked Example: 60,000 Square Foot Warehouse
Here is what the takeoff looks like on a typical distribution shell: 200 by 300 feet, 32-foot clear height, 34-foot panels with a 2-foot parapet, 24 dock doors. This is a teaching example with the arithmetic shown; plug in your own panel schedule on a live bid.
| Line item | Quantity | Takeoff math |
|---|---|---|
| Building footprint | 60,000 SF | 200 ft x 300 ft |
| Wall perimeter | 1,000 LF | 2 x (200 + 300) |
| Gross panel area | 34,000 SF | 1,000 LF x 34 ft height |
| Dock door openings (24 doors, 9x10) | -2,160 SF | Deduct from concrete, price doors separately |
| Net panel area | 31,840 SF | 34,000 - 2,160 |
| Concrete volume | 826 CY | 31,840 SF x 8 in / 12 / 27, plus 5% waste |
| Reinforcing steel | 66 tons | 31,840 SF x 4.17 lb/SF (double #5 at 12 in) / 2,000, plus trim steel |
| Panel count | 44 EA | 1,000 LF / 22.7 ft average width |
| Pipe braces | 88 EA | 2 per panel |
| Heaviest panel | 38.6 tons | 34 x 22.7 ft x 8 in x 150 pcf / 2,000 |
| Crane class | 100-ton | Twice the heaviest panel, per standard practice |
Notice what the table does not show: the dock doors themselves, the dock levelers, the seals and shelters, the man doors and hardware, the joint sealant between panels, and the paint. Every one of those is a separate line item that the opening schedule should trigger. Openings deduct concrete but add scope.
The Sequence That Drives Your Schedule (and Your Price)
Tilt-up has a rhythm, and your estimate has to price the rhythm, not just the materials. A typical sequence runs: footings, then the floor slab (which doubles as the casting bed), then panel forming and casting on the slab, a curing wait, crane erection, bracing, roof steel, and brace removal once the roof diaphragm ties the panels together.
The production rates that matter for your schedule:
- Casting: an average crew forms, reinforces, and pours 8 to 12 panels in an 8-hour shift. Our 44-panel example needs roughly 4 to 6 casting days.
- Curing: panels are typically lifted at about 75 percent of design concrete strength, which takes around 7 to 8 days after casting. High-early-strength cement and admixtures can shorten this, which is a schedule lever worth pricing.
- Erection: experienced crews set up to 30 panels in a single day, with contractors targeting roughly one panel every half hour. Our 44 panels lift in about 2 days with a good crane and crew.
- Bracing duration: braces stay until the roof structure is complete and connected. On a 60,000 square foot building that is usually several weeks, so price brace rental by the month, not the day.
Because the slab is the casting bed, the slab pour gates everything. If the slab is late, panel casting is late, and the crane sits. When you review a general contractor's bid schedule for a tilt-up job, check that the slab cure, panel cure, and brace removal milestones all have float. The crane is the most expensive thing standing still on the site.
Bracing, Crane, and Equipment: The Lines Estimators Forget
Ask a tilt-up sub where bids go wrong and they will point at equipment, not concrete. Concrete is easy to count. These are the lines that get missed:
- Brace rental duration. Counting 88 braces is step one. Step two is the rental months. Two months of rental on 88 braces costs very differently than three weeks.
- Crane matting and access. The crane often works from inside the building on the new slab. Confirm the slab design supports the crane loads; if it works from outside, you need compacted crane paths.
- Rigging gear. Spreader bars, slings, and shackles are usually supplied with the crane, but verify. Specialty picks (tall narrow panels, panels with large openings) need engineered rigging.
- Bond breaker. The release agent between the casting bed and the panel is a real material cost across tens of thousands of square feet of slab, plus the labor to apply it.
- Panel layout engineering. Someone engineers the panelization, lifting inserts, and bracing. That engineering fee belongs in the bid.
- Patch, caulk, and paint. Brace insert holes get patched, panel joints get backer rod and sealant, and most owners want the full exterior painted. On 34,000 square feet of wall, paint is not a rounding error.
If you outsource any of this, a construction estimating service that has done tilt-up before will catch these lines because they have been burned by them. That is the entire value proposition: pattern recognition from jobs you have not built yet.
Tilt-Up vs. PEMB vs. Precast: When Each Wins
Owners and developers ask this on every industrial project, and your estimate should be ready with the comparison:
| Factor | Tilt-up concrete | Pre-engineered metal building | Precast concrete |
|---|---|---|---|
| Best building size | 50,000 SF and up | Under 50,000 SF typically | Large, repetitive projects |
| 2026 shell cost range | $85-$120/SF of building | $65-$85/SF of building | Comparable to tilt-up, varies by market |
| Schedule driver | Slab cure plus panel cure | Steel fabrication lead time | Plant production queue |
| Fire rating | Inherent, roughly 2-hour | Requires applied protection | Inherent |
| Panel size freedom | Very flexible, cast on site | Fixed by manufacturer bays | Limited by shipping |
| Site requirement | Needs slab as casting bed | Minimal laydown | Needs staging and access for trucks |
The rule of thumb from current cost guides: below about 50,000 square feet, PEMB usually wins on price. Above that threshold, tilt-up panel economics improve with repetition, and the durability and fire rating start justifying the premium. Precast competes where a plant is nearby and the panel design repeats cleanly.
Seven Misses That Blow Up Tilt-Up Budgets
These come from real bid postmortems, not textbooks:
- Forgetting the openings deduct but add scope. Dock doors reduce concrete and rebar but add doors, frames, levelers, seals, and dock packages. Net effect on the bid is usually an increase, not a decrease.
- Pricing braces as a quantity instead of a rental. The count is easy; the months are where the money goes.
- Ignoring reveal and form liner details. Architectural reveals, form liners, and sandblast finishes add formwork labor per panel. A plain panel and a dressed panel are different bids.
- Missing the parapet. That extra 2 feet of panel height around the whole perimeter is roughly 6 percent more concrete on a 34-foot panel. Estimators who use clear height instead of panel height undercount every time.
- No allowance for panel engineering. Lifting and bracing design is a subcontracted engineering cost on most jobs.
- Underestimating crane time for complex picks. Thirty panels a day assumes clean, repetitive picks. Corner panels, tall narrow panels, and panels picked over the roof steel slow the cycle.
- Treating caulk and paint as incidental. Panel joints run the full height of every panel. Measure the linear feet and price it.
Frequently Asked Questions
How thick are tilt-up panels on a warehouse?
Most warehouse panels fall between 6 and 12 inches thick. Taller panels, heavier roof loads, and high wind or seismic zones push toward the thicker end. The structural drawings govern; never assume.
How long do tilt-up panels need to cure before lifting?
Panels are generally lifted at about 75 percent of their design concrete strength, which takes roughly 7 to 8 days under normal conditions. High-early-strength cement and accelerating admixtures can shorten the wait, which matters when the crane is scheduled.
How many braces does each tilt-up panel need?
Two braces per panel is the standard, attached at roughly two-thirds of the panel height and sloped down to the floor slab. Tall panels, high wind areas, and multi-story panels need more.
Is tilt-up cheaper than a pre-engineered metal building?
It depends on size. PEMB shells typically run $65 to $85 per square foot and usually win below about 50,000 square feet. Tilt-up at $85 to $120 per square foot becomes competitive on larger buildings where panel repetition improves economics and the owner values the durability and inherent fire rating.
Whether you are a general contractor chasing distribution work or a concrete sub pricing the panel package, tilt-up rewards the estimator who works at the panel level. Take off every panel, count every opening twice (once to deduct, once to price), rent the braces by the month, and size the crane off the heaviest pick. Do that and the bid holds together. The Virtual Estimation prepares detailed tilt-up takeoffs and estimates for contractors across the US every week. Send your panel schedule and drawings to info@thevirtualestimation.com and get a quantity-backed number before bid day, or see our concrete estimating services for the full scope we cover.