
On most commercial jobs, the structural set is where your bid gets made or broken. Concrete, rebar, and steel are usually the biggest material dollars in Divisions 03 and 05, and every one of those quantities starts on an S-sheet. Read the structural drawings wrong and you will price the wrong concrete strength, miss half the rebar laps, or leave a steel connection detail out of your bid entirely.
The good news: structural sheets follow a system. Once you know what each sheet type gives you, where the schedules hide the real quantities, and how to decode the callouts, you can page-turn a structural set fast and pull a takeoff that holds up. Here is the exact sequence experienced estimators use, whether they are bidding as a GC or pricing a single trade. If you would rather hand the whole job to a team that does this daily, our construction estimating services start from your structural set and deliver a complete takeoff in 24 to 48 hours.
Start with the sheet index and the title block
Never start measuring on sheet S-101. Start with the drawing index, usually on the cover sheet or S-001. The index tells you every structural sheet in the set and, just as important, which ones are missing. If the index lists S-501 (the footing schedule) and it is not in your PDF, stop and get it before you price anything.
Then check the title block on two or three sheets: the revision date, the addendum number, and the scale. Structural sets get revised late and often. An addendum issued a week before bid day can resize every footing in the building, and bidding off superseded sheets is one of the most expensive mistakes an estimator can make. Confirm you are working from the latest issued set, and note the engineer of record, because an RFI sent to the right engineer gets answered faster.
Learn the S-sheet lineup
Structural sheets use a consistent numbering logic on most US projects:
| Sheet range | What it shows | What the estimator takes from it |
|---|---|---|
| S-001 (or S-0) | General notes, abbreviations, symbols, design criteria | Concrete strengths, rebar and steel grades, design loads, special inspection requirements |
| S-1xx | Foundation plans | Footing sizes and locations, grade beams, piers, slab-on-grade thickness |
| S-2xx | Floor and roof framing plans | Beam and joist layouts, metal deck, slab thicknesses, openings |
| S-3xx | Sections and wall sections | Slab edges, foundation wall heights, stepped footings, vertical dimensions |
| S-4xx | Details | Connections, embeds, lintels, head-of-wall conditions, miscellaneous steel |
| S-5xx | Schedules | Footing, column, beam, and lintel schedules with exact sizes and reinforcing |
Not every set follows this exact pattern, but the logic holds: plans show where things are, sections show how tall they are, details show how they connect, and schedules give you the exact numbers. Your takeoff should follow the same order.
Read the general structural notes like a price list
The general notes sheet looks boring, and that is exactly why estimators get burned by it. Those notes set the material grades and standards your unit prices depend on. Read every line and pull out:
- Concrete strengths (f'c): footings might be 3,000 psi while columns and elevated slabs are 4,000 or 5,000 psi. Different mixes have different prices, and pricing them as one blended number is how margins disappear.
- Reinforcing grade: almost always ASTM A615 Grade 60 in US commercial work. If the notes call for epoxy-coated or galvanized bars, your material price jumps and your labor productivity drops.
- Structural steel spec: typically ASTM A992 for wide-flange beams and A36 for plates and angles. Connection bolt grades and weld types affect fabrication pricing if you are pricing steel supply.
- Design loads and exposure classes: these rarely change your takeoff directly, but freeze-thaw or sulfate exposure classes drive the concrete mix design and the admixtures, which change the price per yard.
- Special inspections: the notes list which inspections the building department requires, such as welding, bolting, and concrete placement. Those are real costs that belong in your general conditions or your trade price, not nowhere.
Write these values at the top of your takeoff sheet before you measure a single footing. Every quantity you pull later gets priced against them.
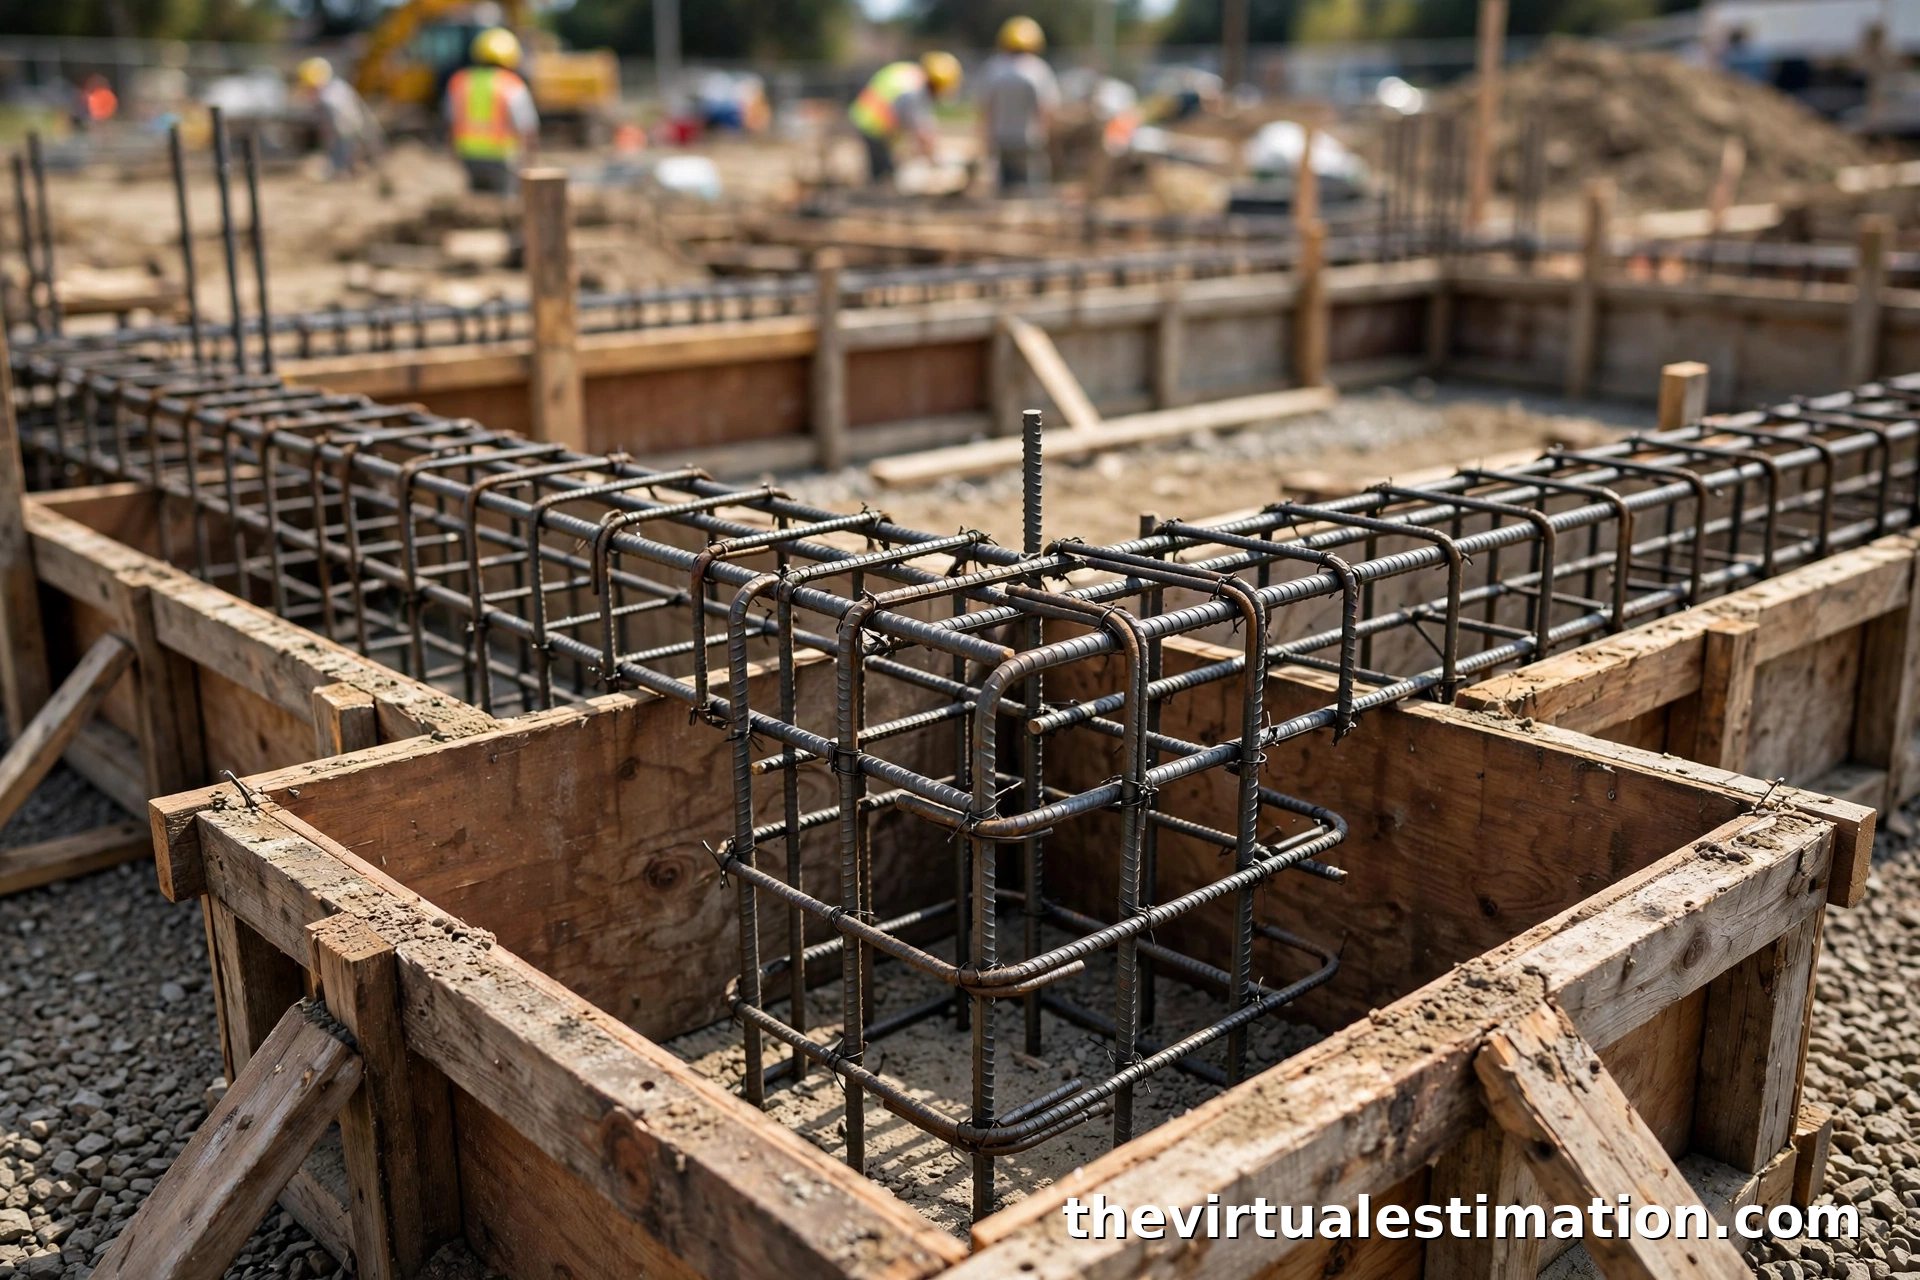
Foundation plans: footings, grade beams, and piers
The foundation plan is your concrete and rebar takeoff for everything below grade. Work it in passes. First pass: count and tag every footing by its mark (F-1, F-2, CF-1 for combined footings, WF for wall footings). Second pass: pull the sizes from the footing schedule, not from scaling the plan. Third pass: grade beams, piers, and pile caps, which are easy to miss because they hide between the footings.
Here is how a schedule row becomes quantities. Say the footing schedule calls out F-24: 2'-0" x 2'-0" x 1'-0" thick, reinforced with 5-#5 bars each way, bottom. The concrete is simple: 2 x 2 x 1 = 4 cubic feet, divided by 27 = 0.15 cubic yards per footing. The rebar: 10 bars total, each about 2 feet long after cover, so roughly 20 linear feet of #5 bar per footing. A #5 bar weighs 1.043 pounds per foot, so each footing carries about 21 pounds of rebar, before hooks and laps. Multiply by your footing count and you have real numbers, not guesses.
Watch for stepped footings and top-of-footing elevations on the sections. A footing that steps down 2 feet at a retaining wall doubles the excavation and doubles the formwork, and the plan alone will not tell you that.
Framing plans: beams, joists, and deck
Framing plans read like a grid. The column grid lines (A, B, C and 1, 2, 3) are your coordinate system. Every beam, joist, and deck panel sits between grid intersections, so learn the grid first and the plan stops looking like spaghetti.
Steel framing callouts pack the whole takeoff into one line. W18x35 means a wide-flange beam, nominally 18 inches deep, weighing 35 pounds per foot. A 30-foot run of that beam is 1,050 pounds of steel, and the callout just handed you the weight. Joist designations like 16K4 tell you the depth (16 inches), the series (K), and the chord size (4); the joist schedule or the manufacturer's tables give you the weight per foot. Metal deck like 1.5B20 is 1-1/2 inches deep, B profile, 20 gauge; the gauge sets both the weight and the price per square.
Concrete framing works through the beam and column schedules instead. A column schedule gives you the size, the vertical bars, and the ties for every column at every level. Read it column by column and mark each one off on the plan as you go, because a missed column in a 40-column grid is a full truck of concrete you did not price.
Openings are the quiet takeoff killer on framing plans. Stair openings, elevator shafts, and mechanical openings each delete slab and deck area and add edge angles, trimmer beams, and extra forming. Circle every opening on the plan and price its edges, not just the missing square footage.
Sections and details: where the hidden scope lives
Plans show you the what and the where. Sections and details show you the how, and the how is where unpriced scope hides. A wall section through the foundation tells you the wall height, the footing depth below grade, the waterproofing termination, and the backfill zone. None of that is on the plan.
Details are worse, because they are small and easy to skim. Slow down on these: slab edge details (thickened edges add concrete and formwork around the whole perimeter), embed plates and anchor bolt details (each one is material plus setting labor), lintel details over every opening, and head-of-wall and perimeter details that add angles, plates, and sealant. On a mid-size commercial building, the lintel schedule alone can add dozens of steel angles that never appear on any plan sheet. When we price GC estimating scopes, the detail sheets are where we find the 5 to 10 percent of scope that plan-only takeoffs miss.
Rule of thumb: if a detail has a section cut symbol pointing at it from the plan, follow it. The engineer drew that detail because the plan could not show the condition.
Rebar callouts decoded
Reinforcing callouts look like code until you learn the pattern. Here is the decoder ring:
| Bar size | Diameter | Weight per foot |
|---|---|---|
| #3 | 3/8 in | 0.376 lb |
| #4 | 1/2 in | 0.668 lb |
| #5 | 5/8 in | 1.043 lb |
| #6 | 3/4 in | 1.502 lb |
| #7 | 7/8 in | 2.044 lb |
| #8 | 1 in | 2.670 lb |
| #9 | 1-1/8 in | 3.400 lb |
| #10 | 1-1/4 in | 4.303 lb |
| #11 | 1-3/8 in | 5.313 lb |
A callout like 5-#6 @ 12" o.c. each way, top and bottom reads as: five number 6 bars (3/4 inch diameter), spaced 12 inches on center, in both directions, placed at both the top and bottom of the element. The "each way, top and bottom" part quadruples the steel versus a bottom-only mat, which is why you read the whole callout before you multiply.
Never eyeball laps and hooks. The lap splice schedule on the S-5xx sheets gives you the required lap length as a multiple of bar diameter, commonly 40 to 60 diameters depending on bar size and concrete strength. A #6 bar at 48 diameters needs a 36-inch lap (0.75 inches x 48 = 36 inches). Every lap is steel you pay for but never see on the plan, and on a long grade beam run the laps can add 10 percent or more to the bar weight.

Cross-check against the architectural set
Structural drawings do not stand alone. The architectural set will disagree with them somewhere on every project, and finding the disagreement before bid day is the estimator's job. Check these:
- Slab thickness: the architectural floor plan might show a 6-inch slab where the structural framing plan shows 8 inches. The structural thickness governs your concrete quantity.
- Openings: the architect moves doors and the structural engineer does not always catch up. Verify opening sizes and locations against the lintel schedule.
- Elevations: top-of-steel, top-of-slab, and finished floor elevations have to stack up. A 2-inch bust between the structural slab and the architectural finish is a field problem that starts as an estimating problem.
- Beam pockets and blockouts: mechanical and plumbing openings through beams and walls need sleeves and blockouts. If the MEP set shows a duct through a beam the structural set does not, flag it.
Log every conflict as an RFI or a bid qualification. Pricing an assumption without writing it down is how you buy work.
The estimator's structural page-turn checklist
Use this sequence on every structural set, in this order:
- Read the drawing index and confirm every listed sheet is in your set.
- Check title blocks for the latest revision date and addendum number.
- Read the general structural notes and record concrete strengths, rebar and steel grades, and special inspections.
- Study the grid system, then page-turn the foundation plan and tag every footing, grade beam, and pier.
- Pull sizes and reinforcing from the schedules, never from scaling the plan alone.
- Page-turn the framing plans level by level, marking beams, joists, deck, and openings.
- Read every section and detail the plans point to, and price edges, embeds, and lintels.
- Decode every rebar callout fully, including laps, hooks, and top versus bottom steel.
- Cross-check slab thicknesses, openings, and elevations against the architectural set.
- Write down every conflict, assumption, and exclusion before you price.
Follow that order and the structural set stops being intimidating. It becomes the most reliable part of your estimate, because unlike finishes or MEP, structure is fully dimensioned and scheduled. The numbers are all there. You just have to read them in the right sequence.
Send us your structural set and get a takeoff you can bid with. The Virtual Estimation delivers detailed quantity takeoffs and complete estimates from your structural drawings in 24 to 48 hours, with every quantity tied back to the sheet and schedule it came from. Email your plans to info@thevirtualestimation.com or get started with our construction estimating services today.